Home Lab: Wazuh installation
 Wazuh
Wazuh
This post contains a step by step guide to install a Wazuh server. We will be using Ubuntu desktop to install the server.
Prerequisites
Follow the below requirements for a smooth uninterupted installation
Hardware requirements
Minimum requirements Storage: 30 GB free disk space RAM: 4GB CPU: A quad core processor
Downloadables
Oracle VirtualBox: VirtualBox website.
Ubuntu desktop: Ubuntu download.
VM Creation
Follow the usual VM creation guides. Allocate atleast 30 GB for storage, allocate atleast 4 GB RAM and finally allocate atleat 2 cores of CPU.
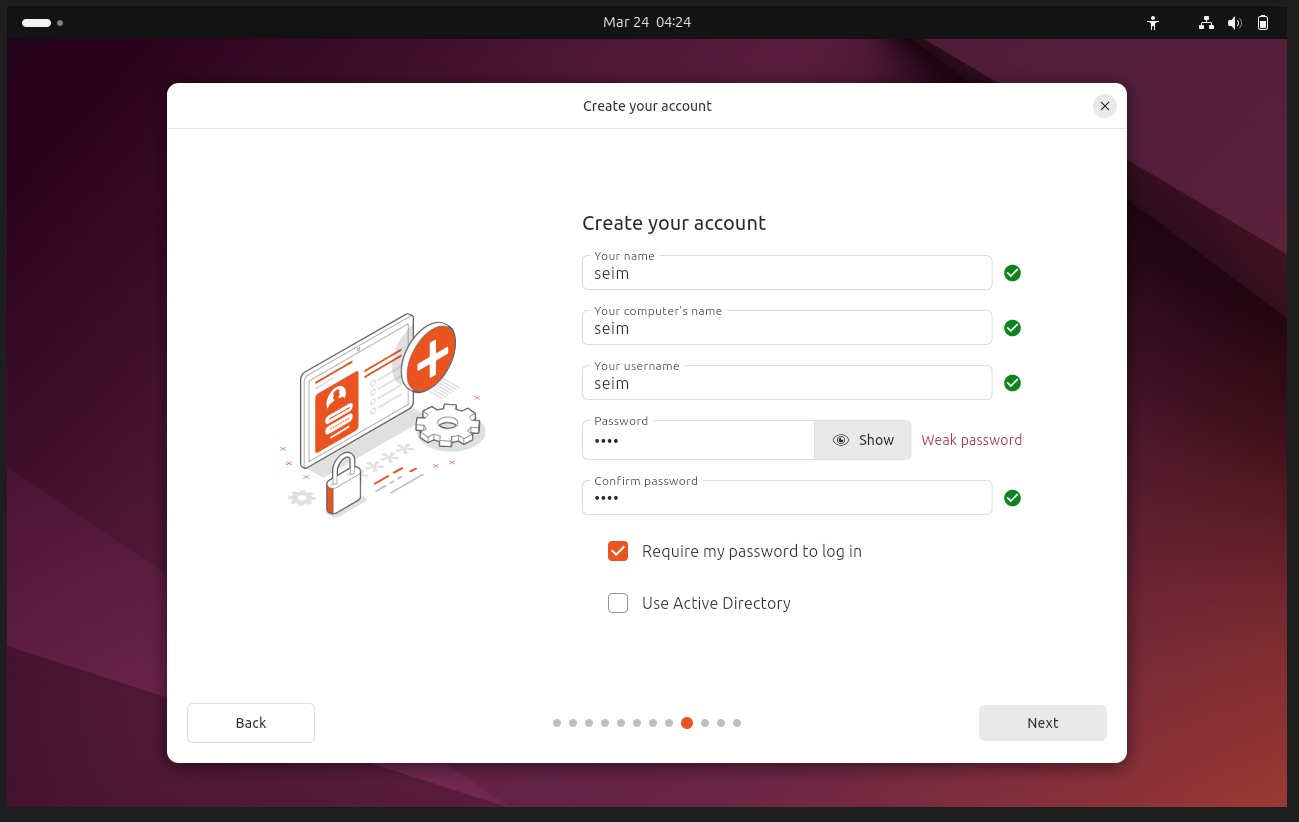
Ubuntu installation
Run the VM you have created and set up the installation.
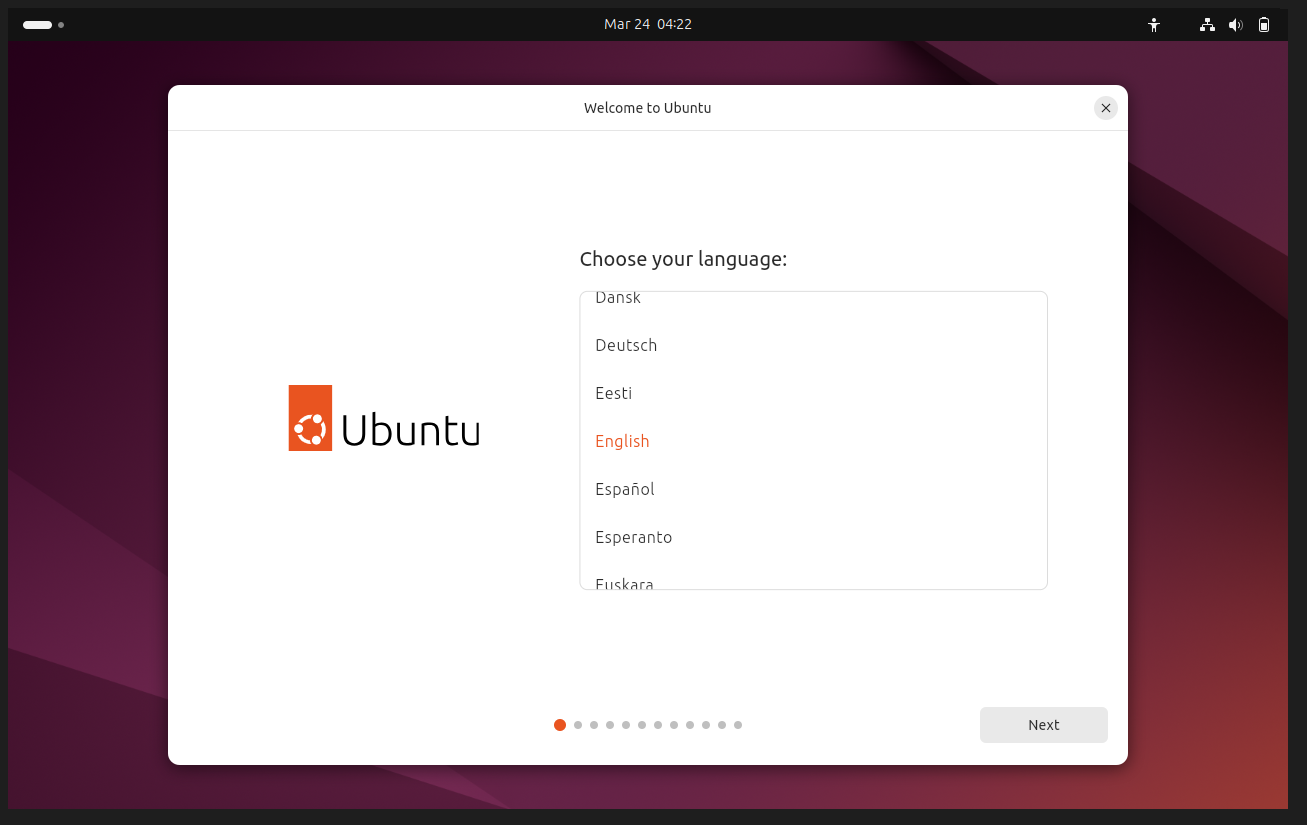
Set up the user for the system.
Wazuh Installation
Now to begin the Wazuh installation follow the below or for a latest guide on installation as of time of reading follow the guide provided on their website here.
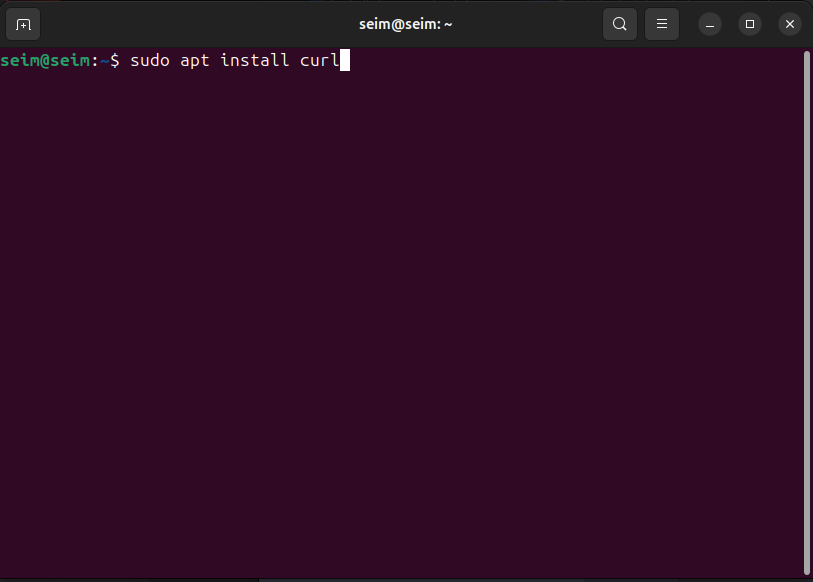
Install curl if not already installed.
As per the guide on the Wazuh website, install using the below command.
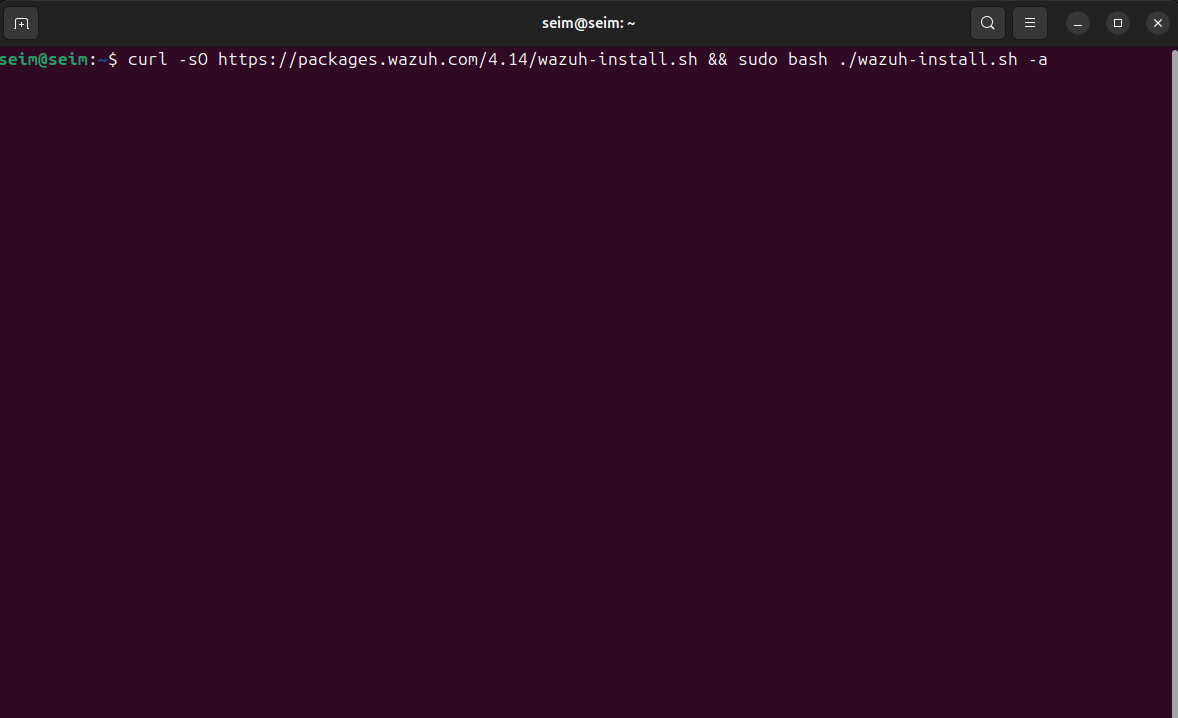
1
curl -sO https://packages.wazuh.com/4.14/wazuh-install.sh && sudo bash ./wazuh-install.sh -a
After executing the command it will take some time depending on the system speed, be patient while it successfully installs.

After the installation it will show like this. Note: The admin username and password will be displayed after installtion, save it somewhere as it might not be accessible later.
Once you see this message it means the dashboard has been successfully installed. Access it via localhost like this:
Install net-tools if; ifconfig does not work.

1
sudo apt install net-tools
Check your lo IP like this:
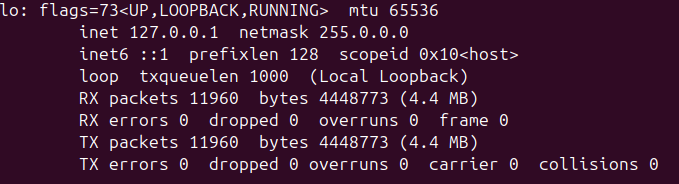
Wazuh dashboard
Once you have the localhost which is typically 127.0.01 access it using your preferred browser.
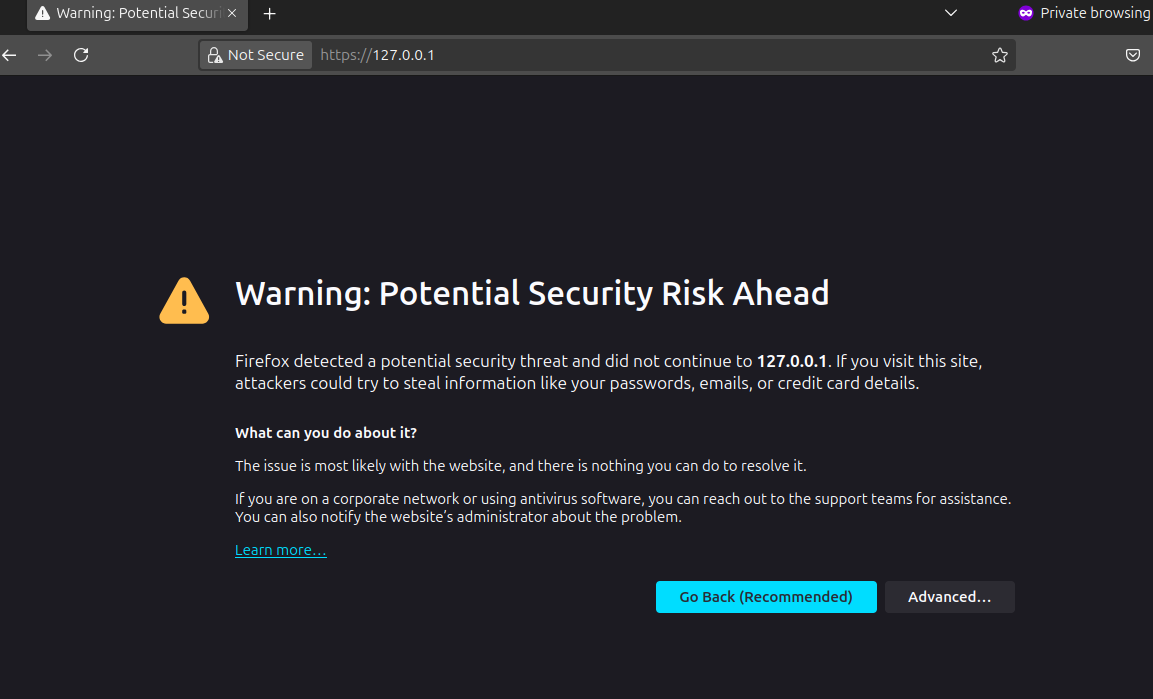
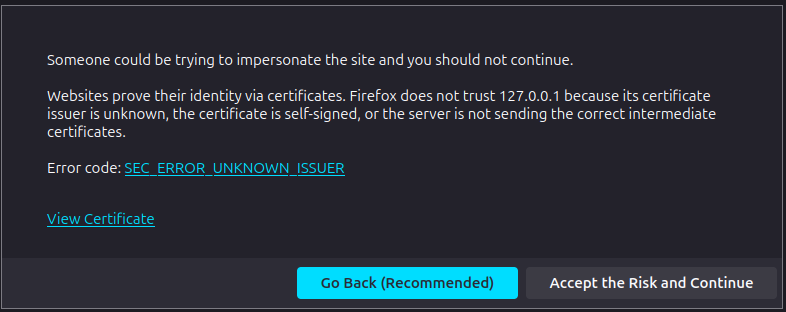
When you are first accessing the dashboard this message will be displayed, do not be scared. Click on Advanced and click Accept the Risk and Continue.
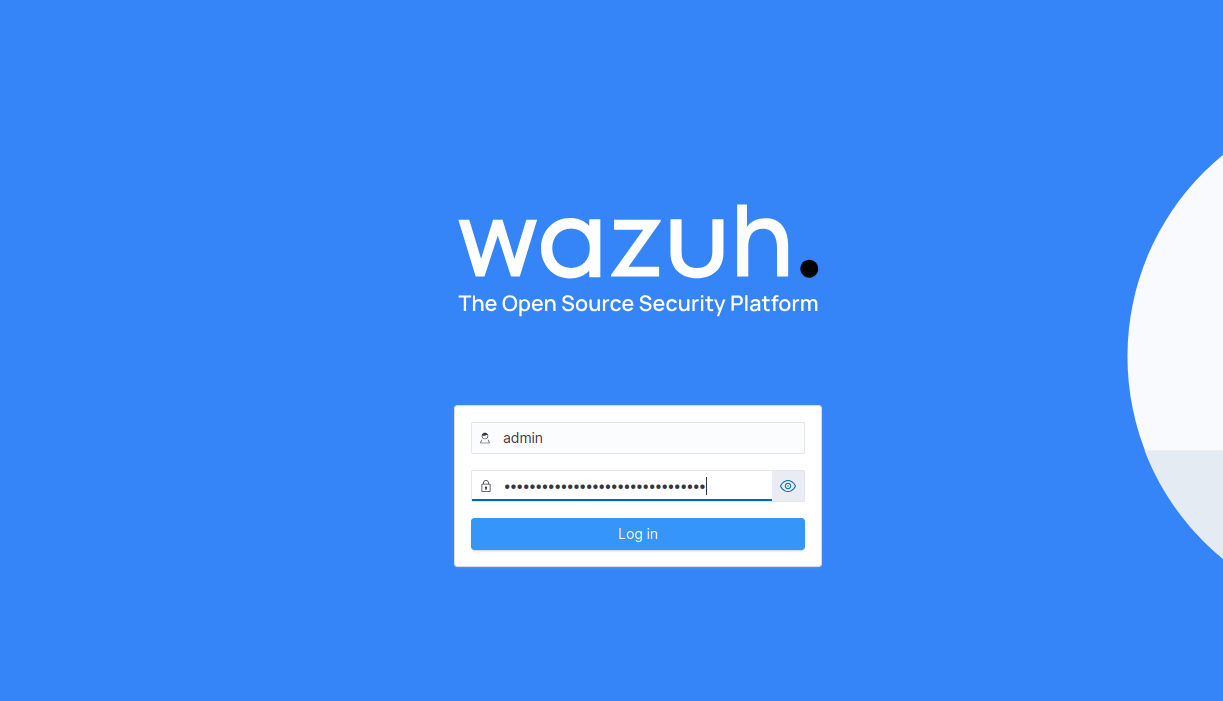
Once you are inside, the dashboard will ask you for a username and password. Enter the username and password that you saved after the dashboard installation.
Once you are in you will be displaye this page.
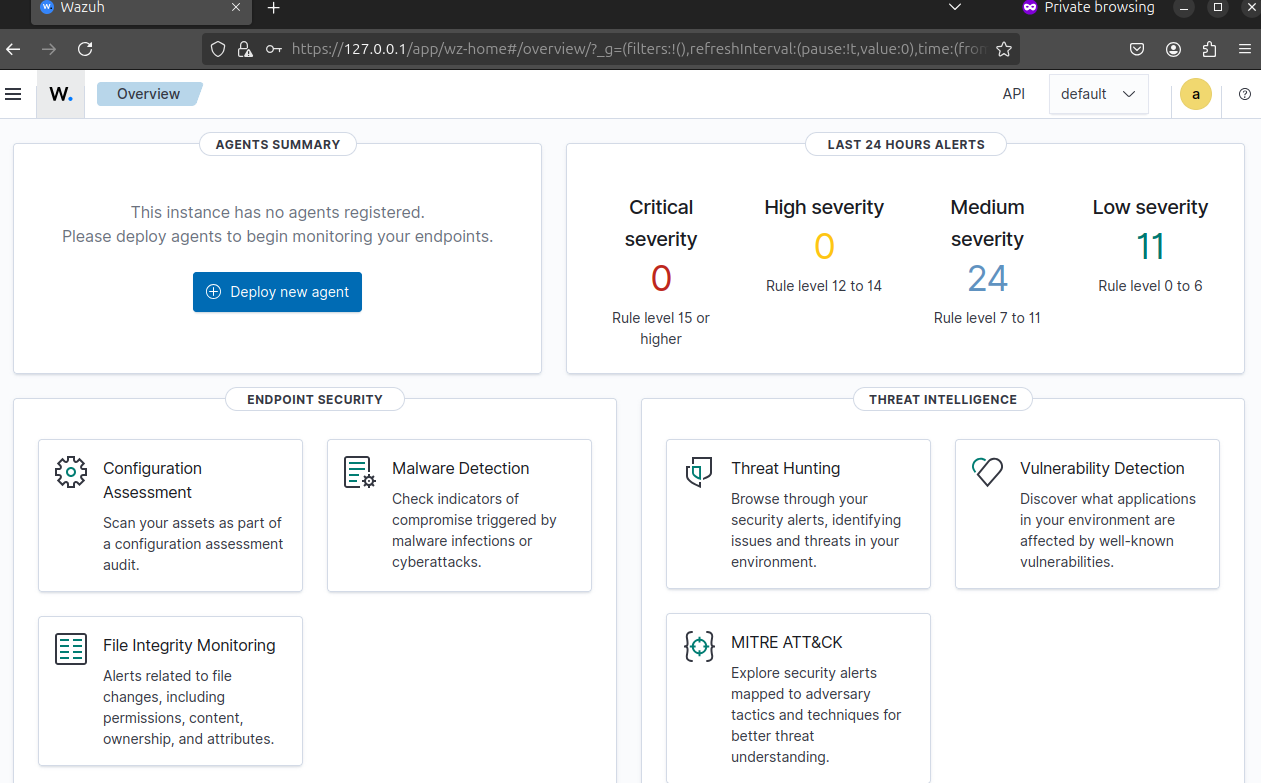
When you see this display it means the installation was a success.
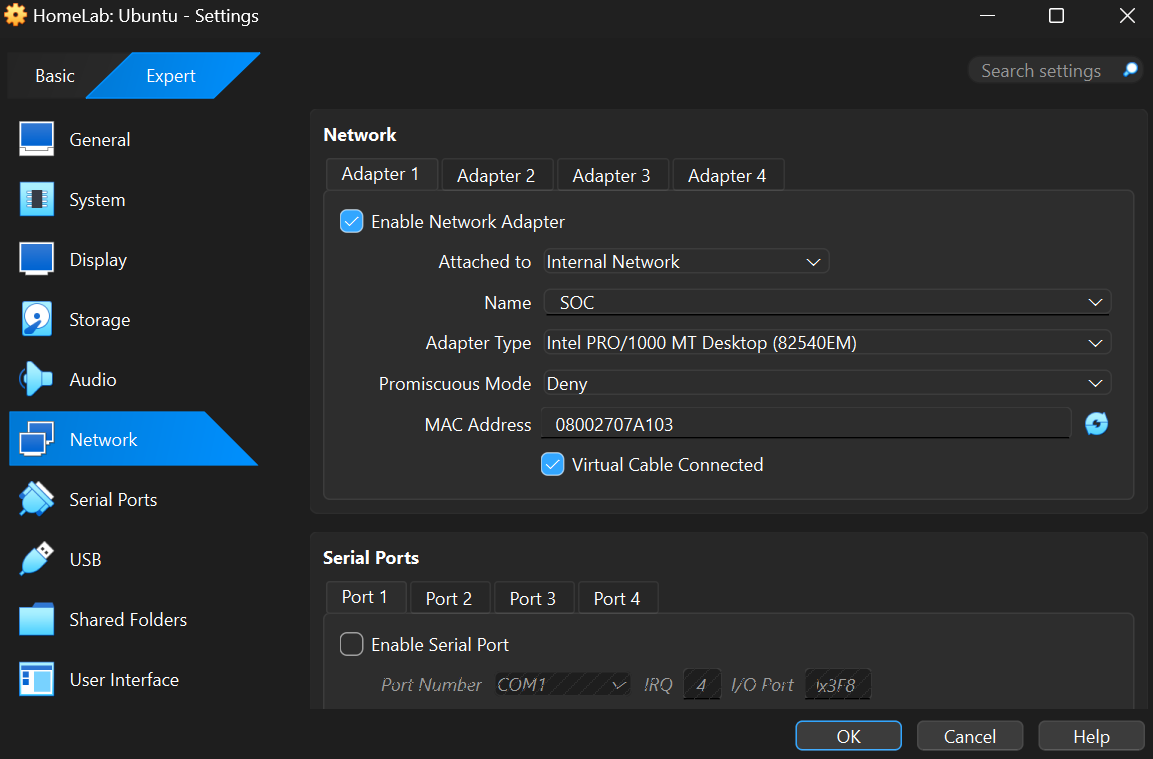
Network configuration
Open your virtual machine settings on virtualbox and navigate to the network tab and assign attached to as Internal Network

And select the previously created SOC environment.
Once that is complete we must assign the VM an IP address this can be done manually in the VM or can be done using a dedicated DHCP server, which is how I will be doing it. Check it here.
dnsmasq Configuration
Open dnsmasq and edit the configuration file using vi.

1
vi /etc/dnsmasq.conf
Enter this line at the en of the file.

1
2
#Static IP reservation for wazuh-ubuntu
dhcp-host='VM mac address', 'desired IP address'
The mac address of the VM can be found in the Network tab of the VM settings on virtualbox.
Once that is done restart the dnsmasq service or start the service.

1
rc-service dnsmasq start
1
rc-service dnsmasq restart
Once that is done start the Ubuntu VM and check if the IP address is assigned properly. Try pinging from a differet VM in the network
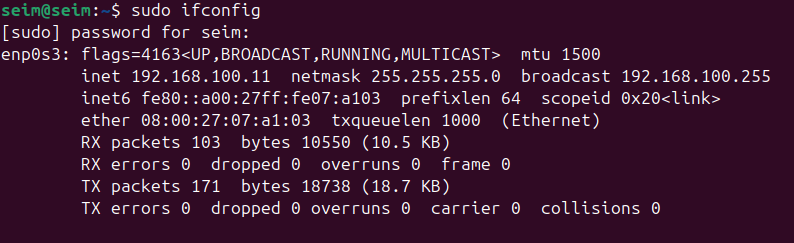
1
sudo ifconfig
Final notes
Now that every step is complete we have our own seim in our homelab.
Note that agents for each device on the network must be installed sperately. Agent installations will be covered on another post.