Home Lab: Metasploitable installation (Vulnerable Machine)
 metasploitable
Welcome back to the third installment of our cybersecurity home lab series! In our previous posts we’ve successfully installed our attacker machine and built a dedicated network with a DHCP server. Now we are ready to introduce the star of the show: our first vulnerable target.
In this guide we will walk through the process of setting up Metasploitable 2, an intentionally vulnerable Linux machine designed for security testing. This VM will serve as our punching bag, allowing us to safely practice our ethical hacking skills and generate the valuable security data we need for our future defensive projects.
By the end of this post you will have a complete, fully-functional lab environment, ready for both offensive and defensive exercises. Let’s get to it!
Prerequisites
Before we are set to install our vulnerable machine we must check if our current hardware can handle the virtual machines. So before the installation refer to the prerequsites for better performance.
Hardware requirements
Minimum Requirements
- Storage: 8 GB of free disk space
- Memory (RAM): 512 MB
- CPU: A dual-core processor (with virtualization enabled)
Recommended Requirements
- Storage: 8 GB or more of free disk space
- Memory (RAM): 1 GB or more
- CPU: A dual-core processor
As for operating system any operating system (Windows, Mac, Linux) is fine.
Downloadables
To get started, you will need to download two key pieces of software:
Oracle VirtualBox: This is the virtualization software that will allow you to run Metasploitable2 on your computer. You can download the latest version from the official VirtualBox website.
Metasploitable2 zip file: You can download this from Sourceforge. This zip file contains the
vmdkfile which acts as a virtual hard disk.
VM creation
To create a new virtual machine click new.
 new vm
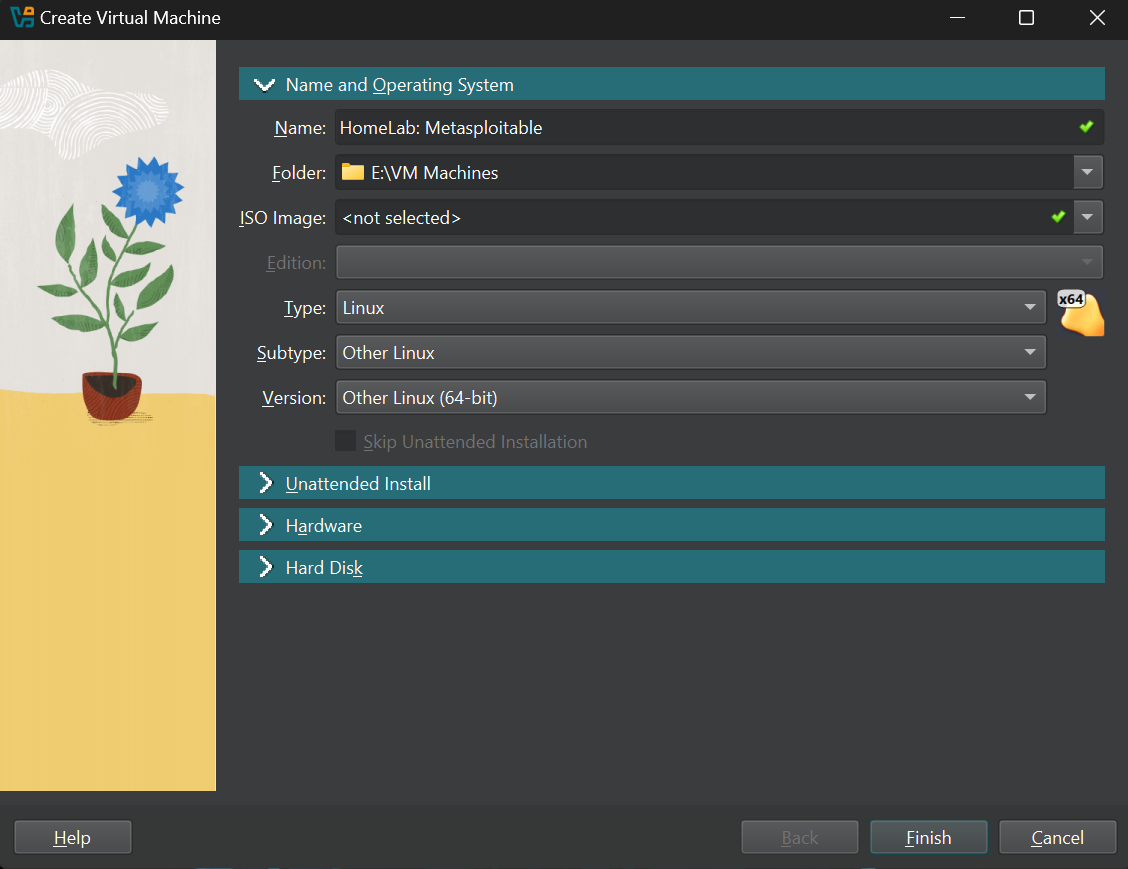
Next you will see this screen, over here give your machine a name, set Type: Linux, Subtype: Other Linux, Version: Other Linux (64-bit).
 name vm
Now head over to the hardware tab and give your machine atleast 512 MB RAM and 1 core of CPU,
 vm hardware
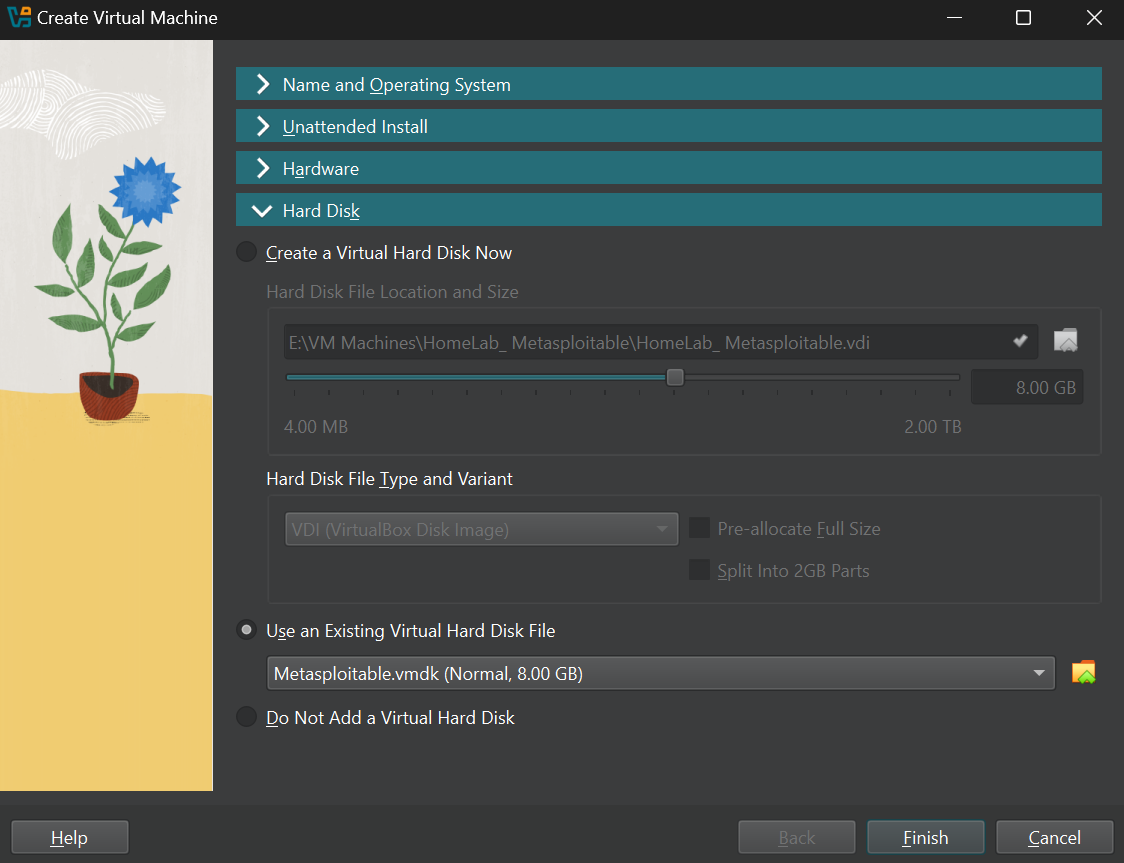
Now move to the hard disk tab, and select Use and existing Virtual hard disk file.
 hard disk
Now once you are in this step locate your downloaded Metasploitable2 zip file and extract it. Inside the folder there will be a file with .vmdk extension so keep the folder in a secure place.
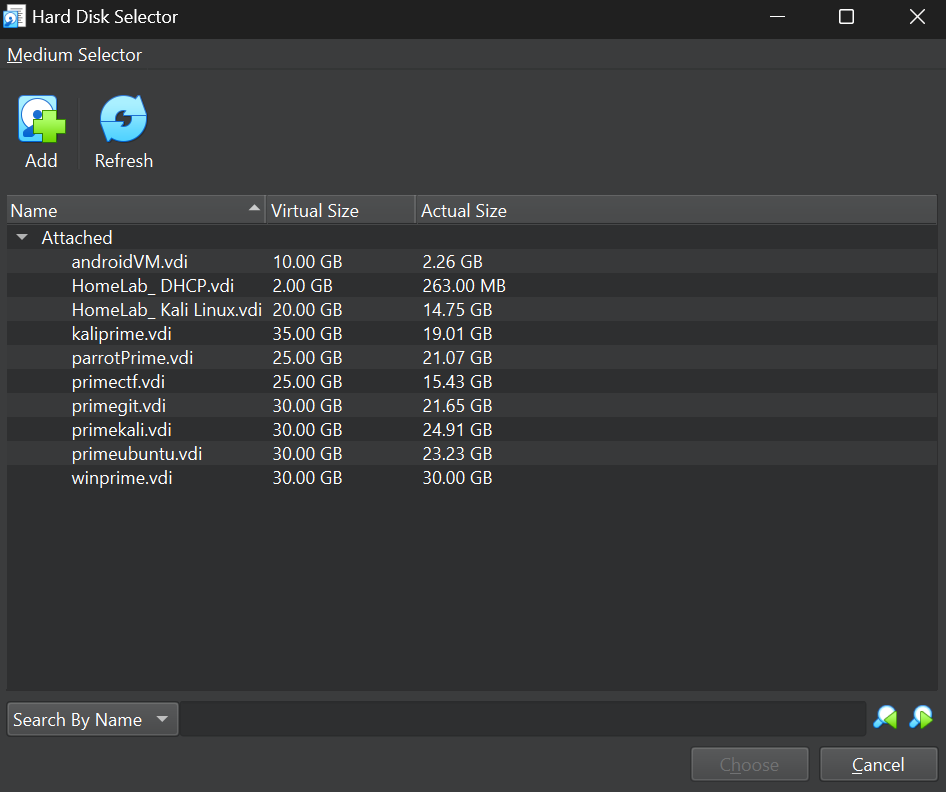
Once that is done click on the small folder icon in the virtual box hard disk section and click add select your .vmdk file. Click choose and click Finish.
 vmdk
vmdk
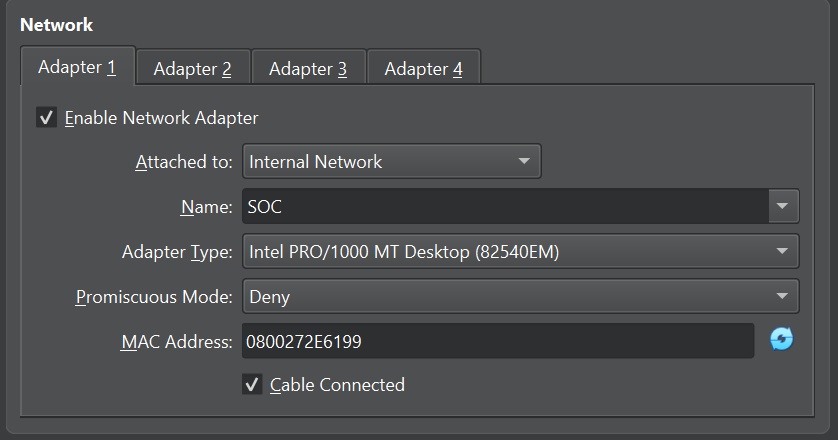
Once the machine is created go to the settings and network tab and select internal network to isolate the machine from our home network. Give it any name or choose one if you already have one.
- Important note: Once you isolate a machine as internal network virtual box does not provide it with an IP address by default so make sure to set a manual IP address or set up a DHCP server like I did here.
 network
Login
Once the machine is created and all the steps are completed start the machine and the Metasploitable default logins are: msfadmin, password: msfadmin.
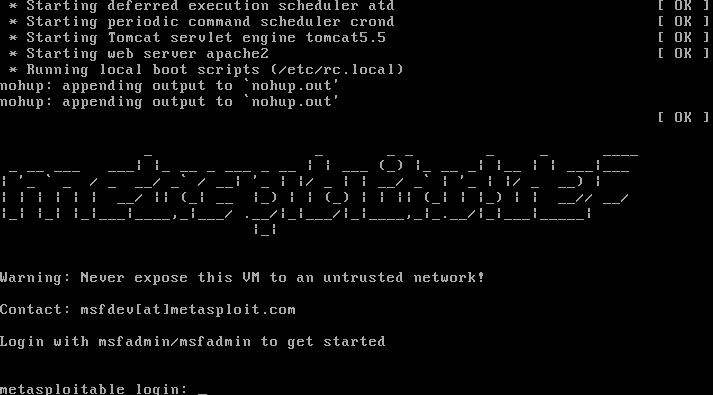 msflogin
Once you login type ifconfig to get the machine’s IP address if you have a DHCP server in the network. Or if you wish to give it a manual IP address edit this file: /etc/network/interfaces to give it a static IP address.
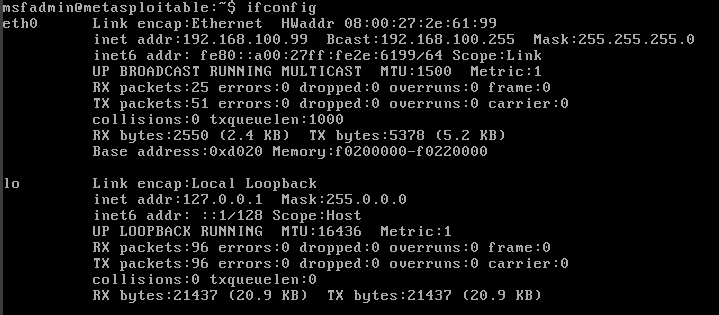 IP address
Ping test
Once that is done to check if the network is configured properly try pinging it from a different VM on the same internal network.
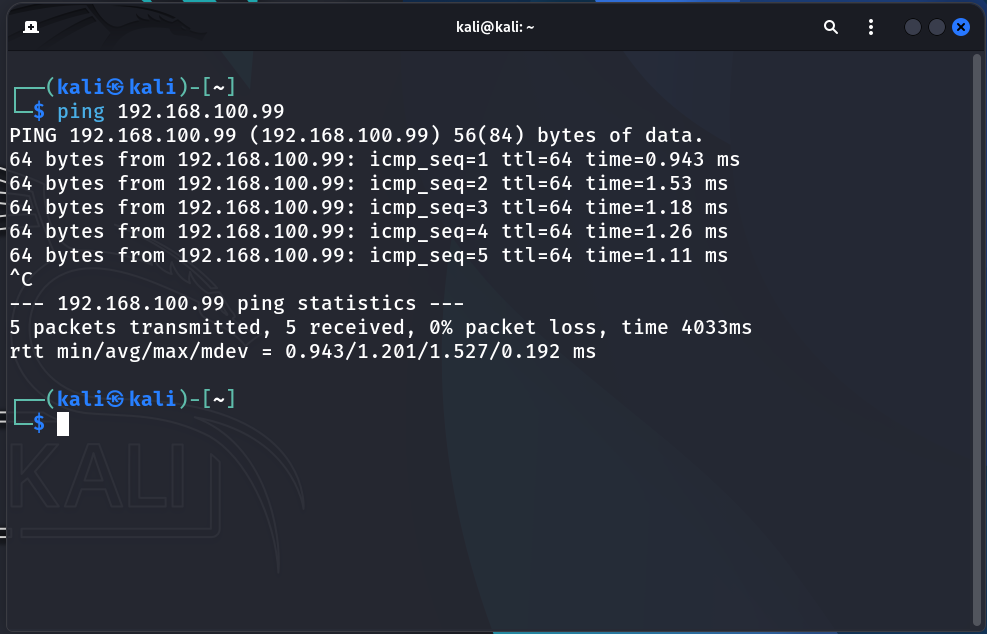 Ping
Ping
Conclusion
Congratulations to us! we have successfully installed and configured our first vulnerable machine, Metasploitable 2. We now have a complete, three-part lab environment consisting of: a powerful attacker machine (Kali Linux), a secure internal network with a DHCP server, and a vulnerable target.
The stage is officially set. We have all the necessary components to begin our hands-on exercises. In the next post, we will launch our first attack from Kali Linux on Metasploitable 2. This will not only test our offensive skills but, more importantly, will generate the first crucial logs and security events that we will later use as a foundation for building our SIEM (Security Information and Event Management) platform.
Stay tuned for the next post, where we move from building to actively hacking and analyzing!