Home Lab: DHCP server
 dnsmasq
Welcome back to the second installment of our cybersecurity home lab series! In our previous post, we established our attacker machine, Kali Linux, and prepared it for action. Now, we’re taking a critical step forward by building the perfect environment for it to operate in: a dedicated, isolated network.
Why is this so crucial? Because it allows us to simulate real-world scenarios without any risk to your home network. Instead of a messy, multi-VM configuration, we’ll create a single, centralized server to handle all of our networking needs. In this guide, we’ll leverage the lightweight and secure Alpine Linux to serve as our DHCP (Dynamic Host Configuration Protocol) and DNS (Domain System Name) server, using the powerful dnsmasq utility. This will give all our virtual machines their own private address space, just like in a real enterprise network.
The real reason why I built this DHCP server is because I beleive it is really a hassle how we need to manually enter an IP for each machine that we add on our isolated SOC network.
Installation
Before we create our DHCP server we will have to download a light weight linux distribution which doesn’t take up much power so we can have it running while we run our other Virtual Machines, I have picked Alpine Linux since it has a command line interface and doesn’t take up much space and power. You may use any Linux distrobution that you desire.
Downloadables
To get started you will need atleast 3GB free storage space and 512MB free RAM. Also you will have to download: Oracle VirtualBox and you need to download Alpine Linux standard ISO here, make sure to install the x86_64 version of the standard ISO.
Virtual Machine creation
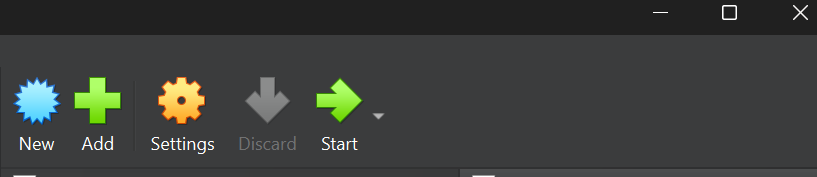
Once you have downloaded everything go on to virtualbox and click on new to create a new virtual machine.
 New VM
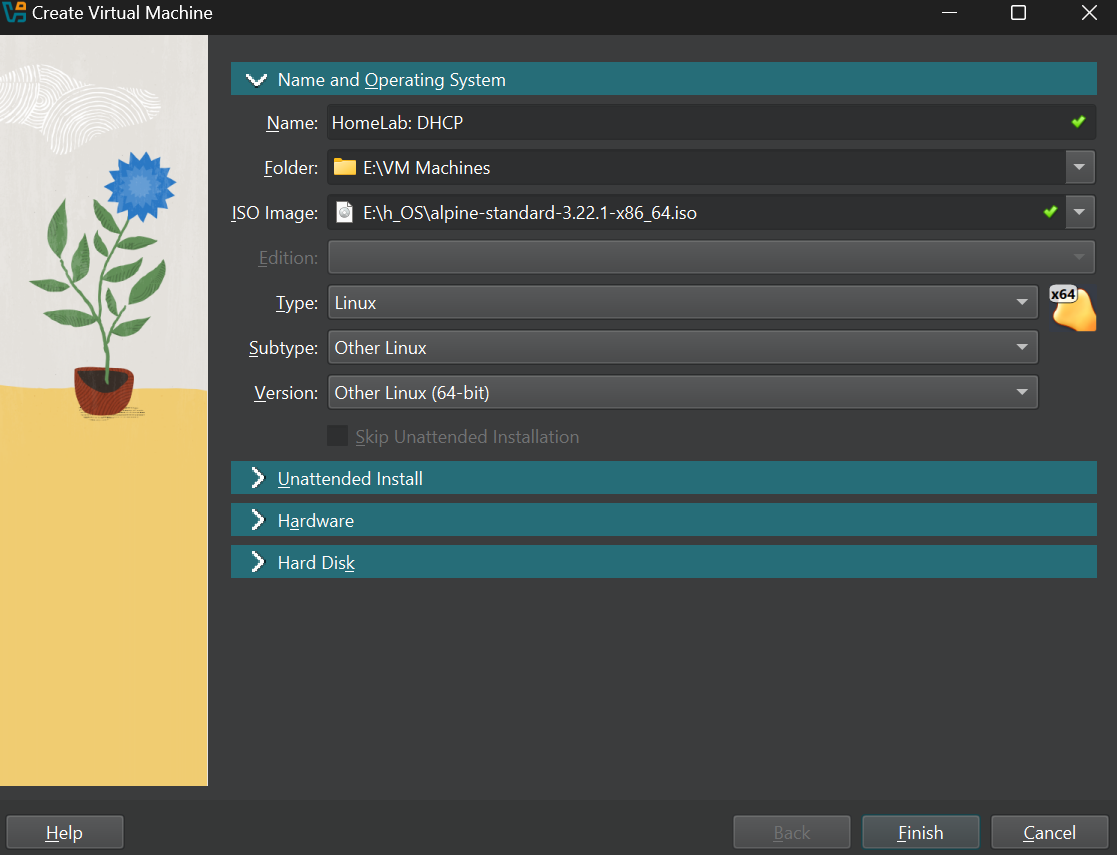
Once you do that you will this screen, So now give your machine a name and select a location on a drive with atleast 3GB free space. THen click on ISO image and select your downloaded Alpine Linux Standard ISO. Set the Type to Linux, Subtype to Other Linux and the version as Other Linux (64 bit).
 Name and operating system
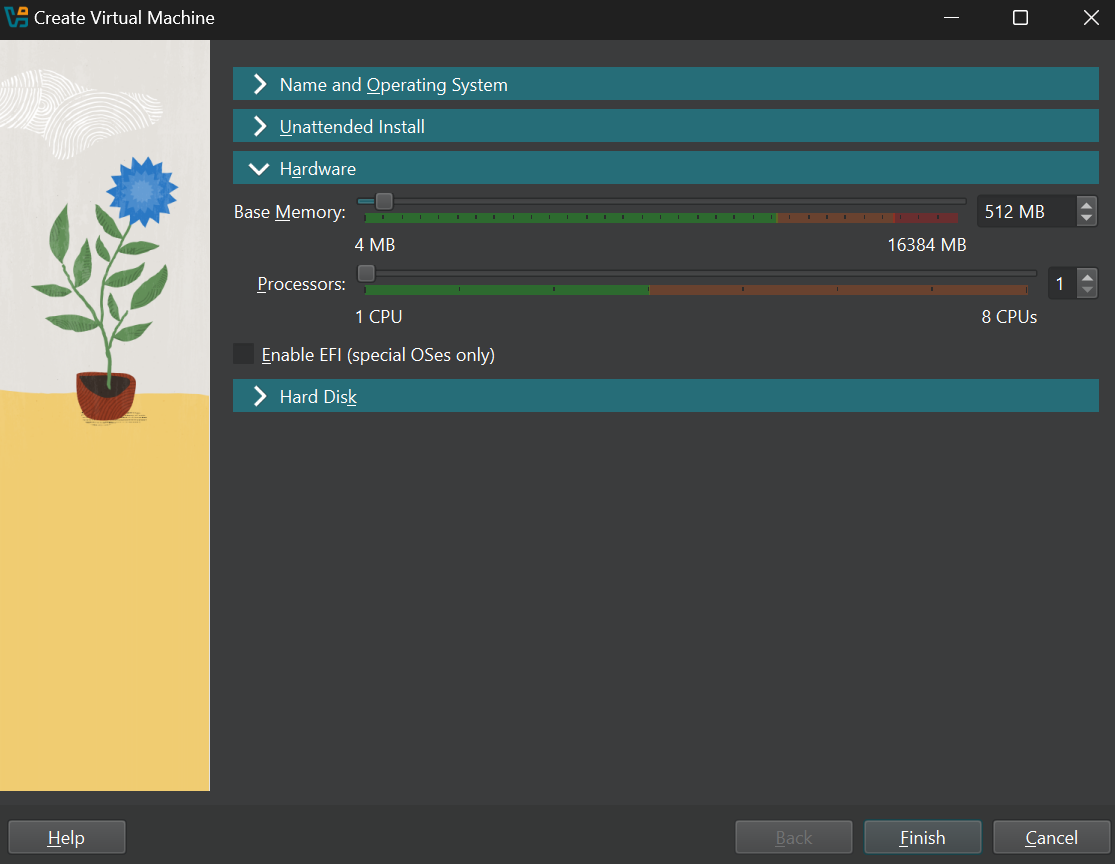
Now move to the Hardware section and select 512MB base memory and 1 CPU processor.
 VM Hardware
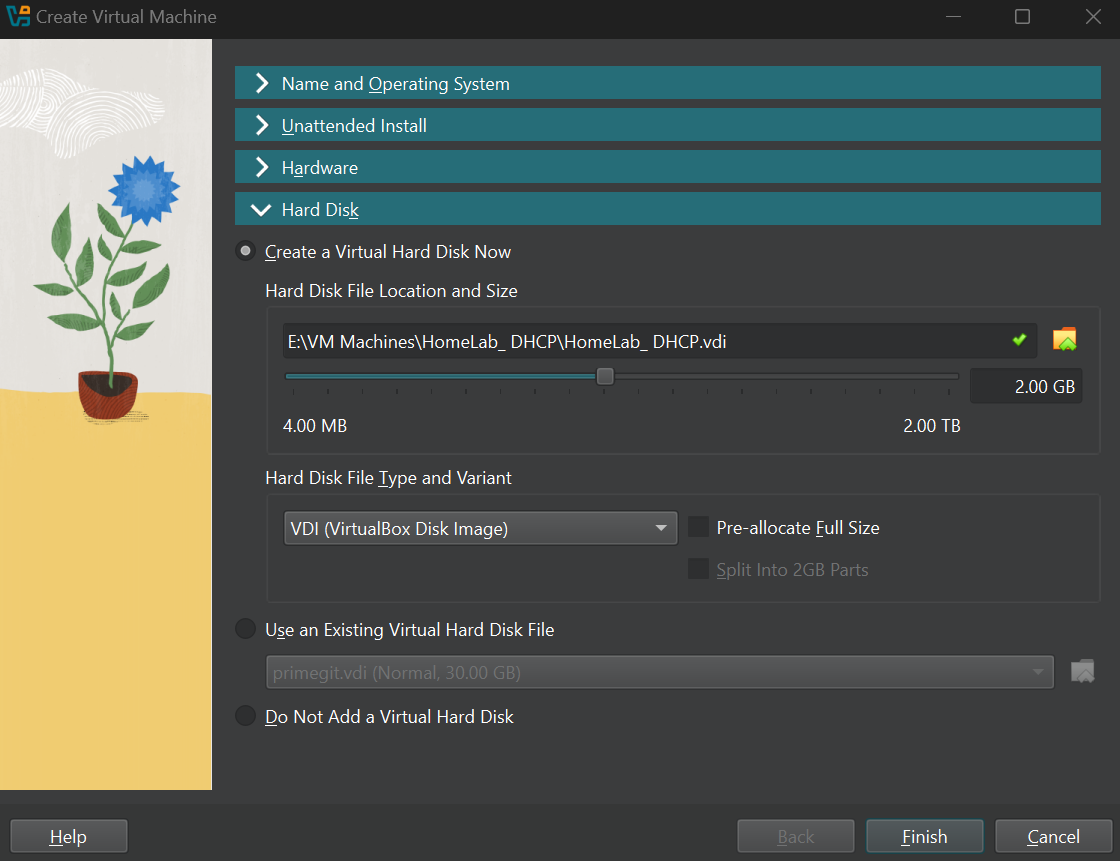
Now move on to the Hard disk section and select “Create a Virtual Hard Disk Now” and give it atleast 2GB storage space. Now once everything is done click Finish.
 VM Storage
OS Installation
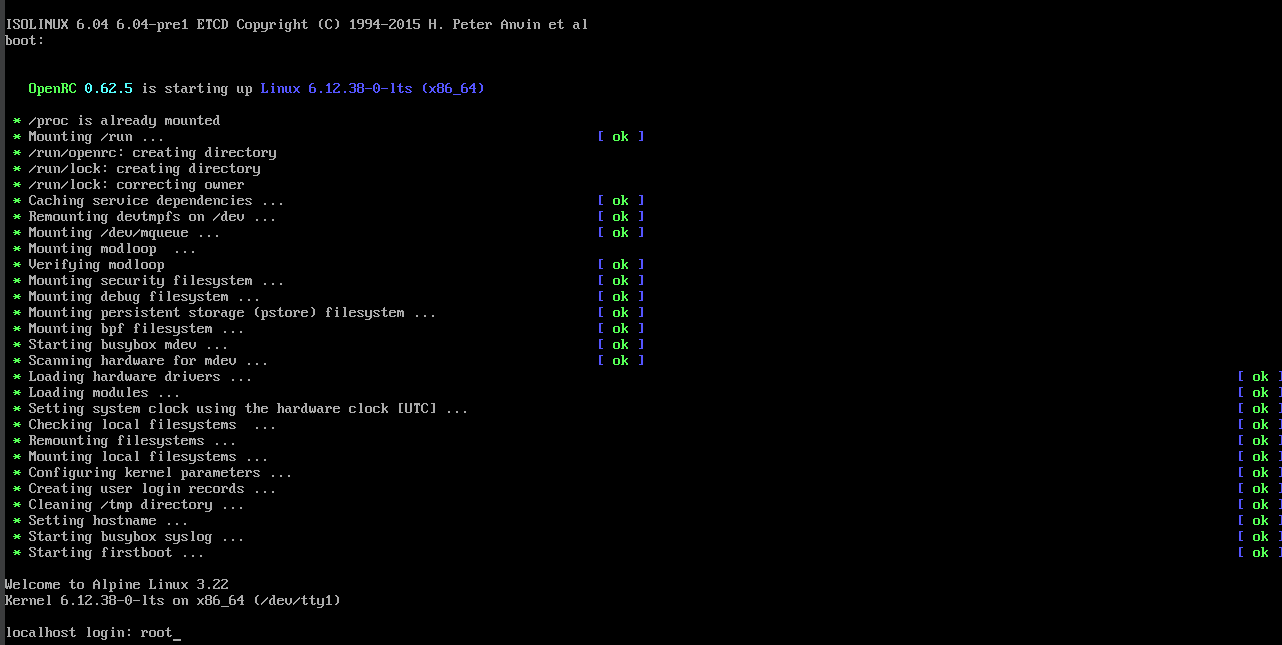
Once the VM creation is done click on start and boot into Alpine Linux. Once in you should login as root so just type as root in the terminal and you will log in, there will not be any password and you can log in. If there is any issue make sure you have downloaded the correct ISO file and followed the VM creation steps properly.
 Root
Root
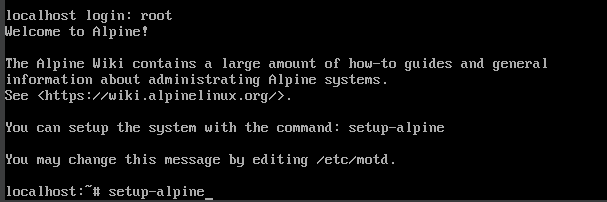
Once you are logged in you must install the OS. To do so type this in the terminal.
1
setup-alpine
 Alpine setup
Once the setup launches select your preferred keymap and hit enter.
 Alpine keymap
After selecting the keymap you will be asked to enter a hostname, Give a hostname you prefer and hit enter.
 Alpine hostname
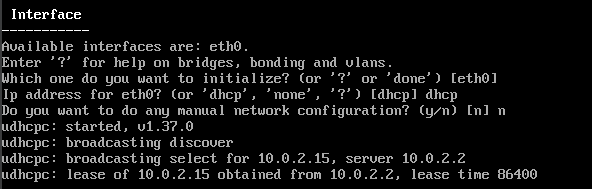
After you have given the hostname you will prompted to initialize an interface, the defualt would be eth0 so hit enter on that [Important note: If you have added more than 1 adapter when creating the virtual machine, disable it. There will be problems with the installation]. Then you will be asked to provide ip address for eth0, the default is dhcp so again hit enter. Once that is done you will be prompted to do any manual network configuration, again go with the defualt which is no or n.
 Alpine interface
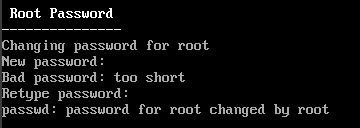
Once the Interface setup is complete you will be asked to create a new password for root so give it a super secure super long password like I have. Also make sure you can remember the password.
 Alpine root password
Once that is done, select your preferred timezone and hit enter.
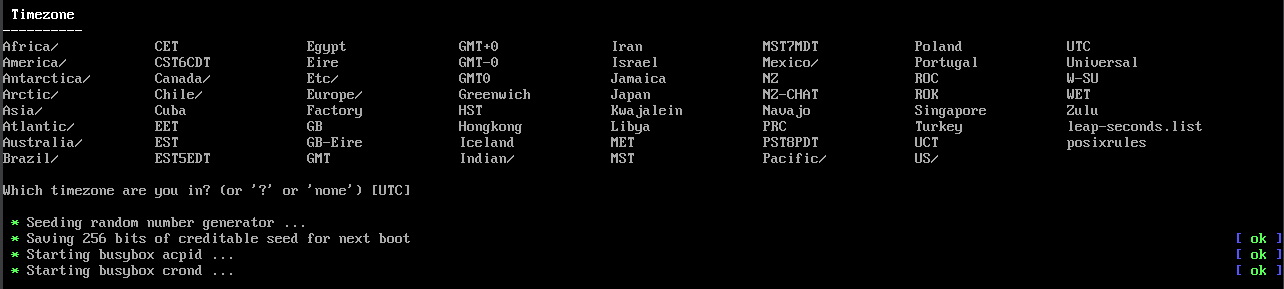 Alpine timezone
After that you will be prompted for HTTP/FTP proxy, for now leave it as none and hit enter.
 Alpine proxy
Now you will be prompted to select a Network Time Protocol, you may select any that you prefer but I have chosen chrony.
 Alpine NTP
After you select your NTP client you will be asked to chose an APK Mirror, select r to use a random Mirror and hit enter.
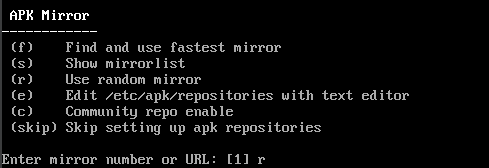 Alpine APK Mirror
After that step is complete you will be prompted to create a new user, select your preferred username and password and proceed. For the SSH key keep it as default which is none and hit enter, then you are asked which SSH server to use leave it as default which is openssh and hit enter.
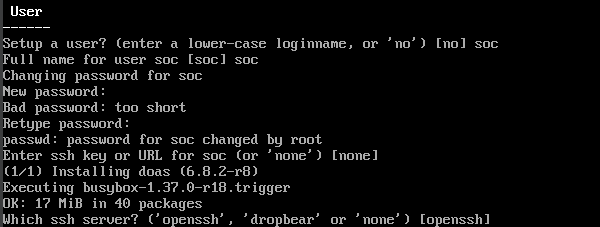 Alpine user
Next will be to select the disk to install our OS. Over here you will be prompted which disk to use, here select the virtual hard disk that you created which is called sda in my case. Once the disk is selected we are prompted how would we like to use it, here select sys to install the system. Now we are asked if we are okay with erasing the disk, select y since this only erases the virtual hard disk we created. Once this is done the OS will install and it will take some time.
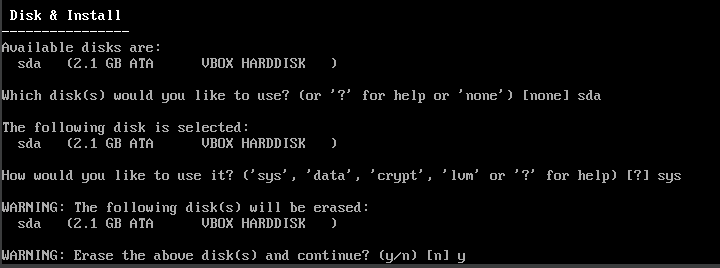 Alpine disk & install
Once the installation is one we are asked to reboot, so type reboot or simply hit the Virtual Box Host(on windows it is the right ctrl button) + Q and shut down your machine.
 Alpine reboot
Once the machine has shut down, go to its settings and navigate to the storage section and remove the alpine standard ISO file so our machine will boot to the OS and not the installer the next time we run it.
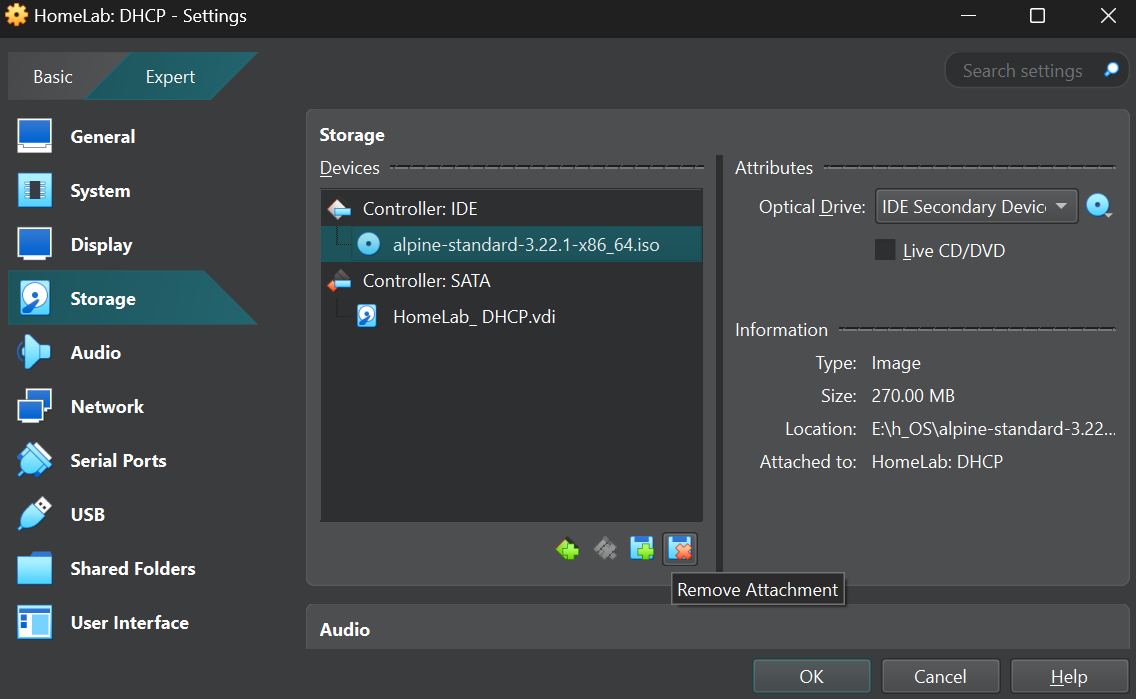 VM remove attachment
Once you remove the attachment start the VM again and you will be booted into Alpine Linux, here log in as root and enter the password you set for root.
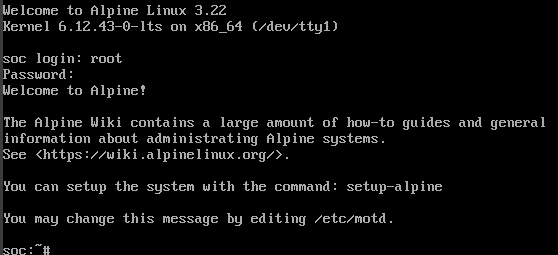 Alpine Log in
dnsmasq Installation
Once you are logged in as root type this in the terminal to update packages.
1
apk update
 Alpine update
Once it is done to install dnsmasq type this in the terminal.
1
apk add dnsmasq
 Alpine dnsmasq
Network configuration
Once dnsmasq is installed shut down your machine using Host + Q and open the Machine settings and navigate to the Network section. Then under the Attached to section select it as Internal Network and for the name we will select the same network our kali machine is under, which is named SOC. Now save the settings and click ok.
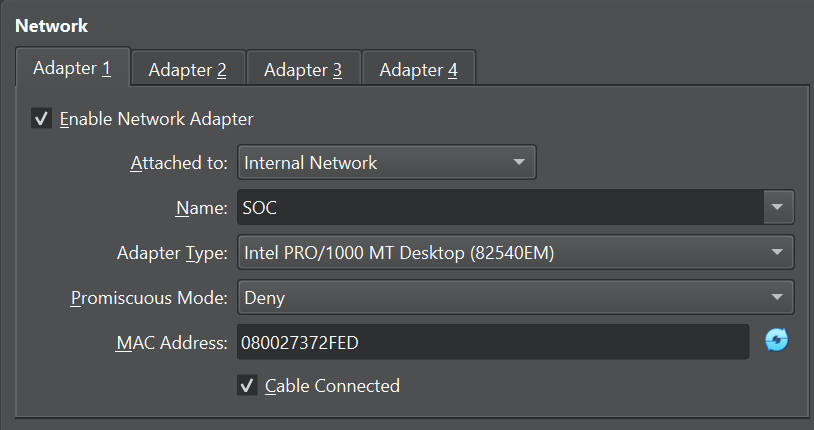 VM Network
Static IP configuration
Once the VM is on the internal network boot it up again and login as root. Now use vi to edit the interfaces file to provide a static IP address to our VM in the internal network. To edit the interfaces file type this in the terminal.
1
vi /etc/network/interfaces
 Alpine interface edit
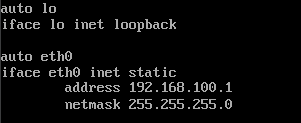
In your machine you will see something like ‘iface eth0 inet dhcp’ we will edit this to say static and provide an IP address. In vi to edit a file click shift + I to enter insert mode. And then edit the file with this.
1
2
3
4
auto eth0
iface eth0 inet static
    address 192.168.100.1
    netmask 255.255.255.0
Once you have edited the file to save it click Esc and then type :wq and hit enter to save the file.
 Edited Interface
Once it is done to confirm if the file is edited cat the file to check if it is edited, and as we can see it is edited. So now we can restart the service by using the following command.
1
rc-service networking restart
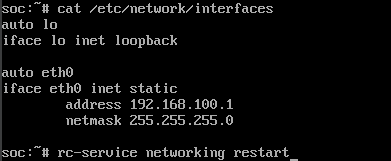 Restarting network service
Once the service is restarted type in the following command to check if the IP address is assigned properly. And to confirm you should see something like inet 192.168.100.1/24 in eth0.
1
ip a
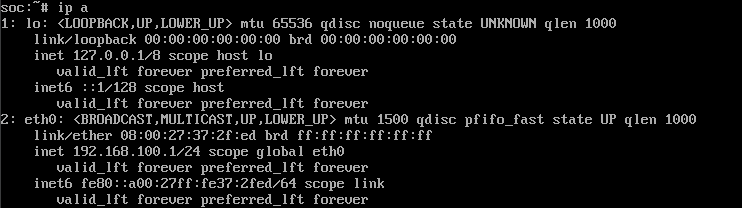 Confirming the IP address
dnsmasq Configuration
Once the machine has an IP we can move on to edit the dnsmasq.conf file to serve IP addresses to machines on this network. To edit the conf file type this into your terminal.
1
vi /ect/dnsmasq.conf
 dnsmasq config edit
Once you do this you will see a huge list. Scroll to the bottom of the file and hit shift + I to enter insert mode so we can edit this file.
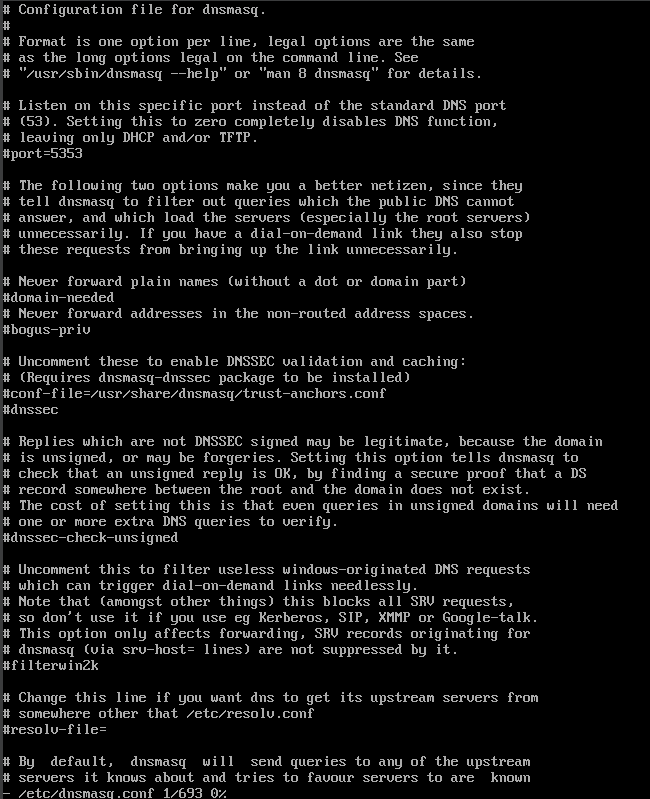 vi dnsmasq
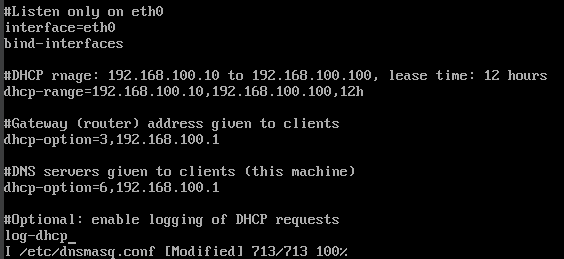
Once you are in insert mode do the following edit and save the file by clicking Esc and :wq and hit enter to save it.
1
2
3
4
5
6
7
8
9
10
11
12
13
14
15
# Bind to eth0 only
interface=eth0
bind-interfaces

# DHCP address pool and lease time
dhcp-range=192.168.100.10,192.168.100.100,12h

# Gateway address sent to clients
dhcp-option=3,192.168.100.1

# DNS servers sent to clients (just this server for isolated network)
dhcp-option=6,192.168.100.1

# Enable logging (optional)
log-dhcp
 dnsmasq edit
Now everything is set all we have to do is start the service to do so type this in the terminal.
1
rc-service dnsmasq start
 dnsmasq service start
If you want to check if the service is running type this in the terminal to check its status.
1
rc-service dnsmasq status
 dnsmasq status
Now for the moment of truth, boot up the kali virtual machine that we created on our previous post and when we run ifconfig we can see that the DHCP server has provided an IP address to our machine.
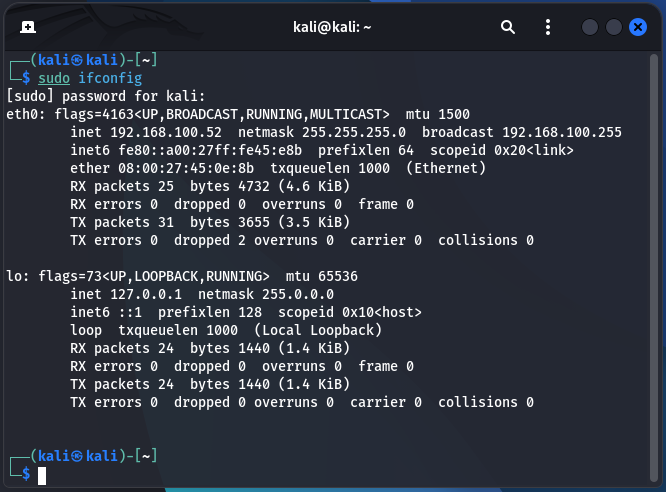 Kali IP
Once we see the IP address just to double check let’s run ping on our server and ping the kali machine to see if it responds. As per the below image it is a success.
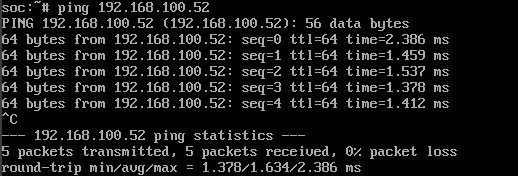 Ping
Ping
To make it easier we can also add dnsmasq to automatically run everytime we boot up Alpine Linux by using this command.
1
rc-update add dnsmasq default
Conclusion
We have successfully built a dedicated, isolated network with a centralized DHCP and DNS server. By using the lightweight Alpine Linux and the powerful dnsmasq utility, we have eliminated the need for manually configuring IP addresses on every new machine. This makes our home lab more efficient and provides a realistic environment for our future projects.
With our attacker machine and a secure, controlled network now in place, we have all the foundational components to begin our hands-on exercises.
In the next post, we will introduce our first target: Metasploitable 2. This intentionally vulnerable machine will allow us to immediately apply our Kali Linux skills and begin generating the security events and logs that we will later use to build our SIEM (Security Information and Event Management) platform.
Stay tuned for the next installment of our home lab series!